Hardware
A list of my favorite hardware projects over the years, from PCBs to 3D printing and everything in between.
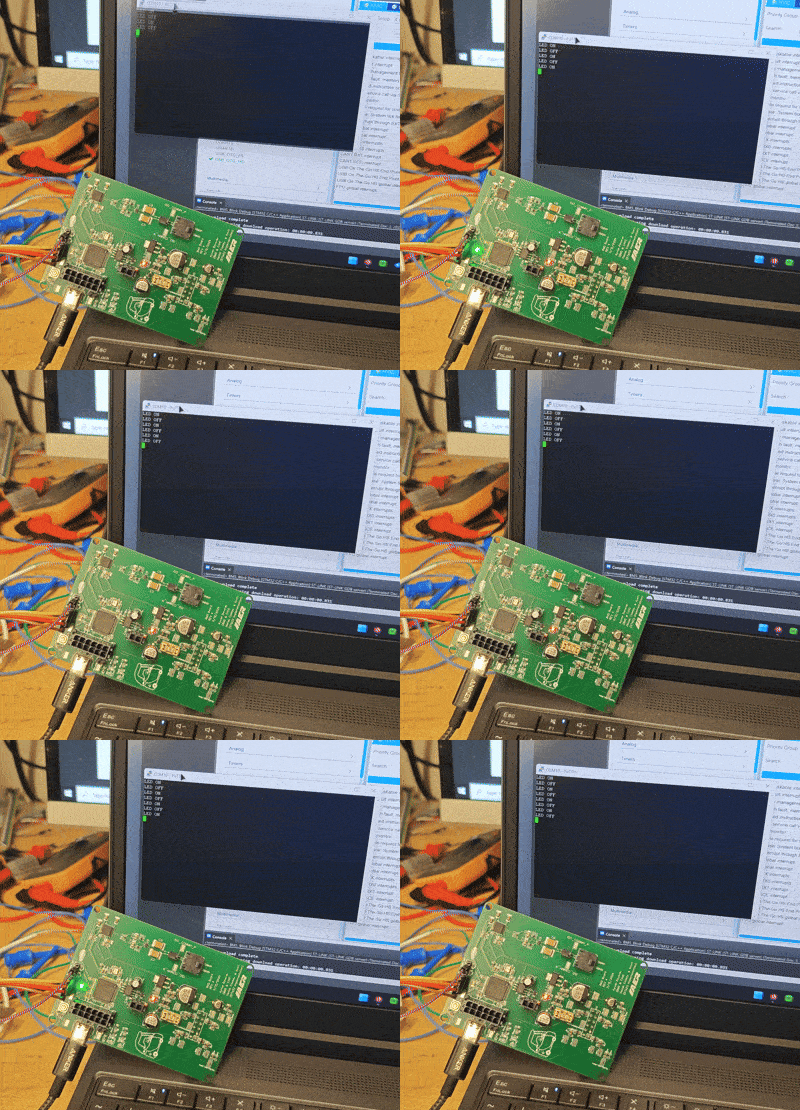
STM32 Development Board & BMS Integration
On our team, almost all programable boards on the car were based on off-the-shelf microcontrollers like Arduinos and ESP32s. One of our priorities this year is to migrate from off the shelf boards to custom STM32 setups for many reasons. First, having an integrated STM32 in our boards reduces compatability issues and allows for lower level control of the chip. Secondly, off-the-shelf microcontrollers like the Arduino have a lot of extra components that not only take up more space, but also draw a lot more unnecesary power. I was one of the main people on this project, namely designing, layout out, and validating a development board bassed on the STM32F4 chip. After that success, I was assigned to integrate my design into the Battery Management System (BMS) board. This was a success, with the board validated and I even went as far as programing a serial monitor onto the built in USB-C port in a simple program that blinks an LED and prints the state of it in the serial monitor.

iS300 Gauge Cluster Controller
YouTube: https://www.youtube.com/@spotech-dev
For my Rx8 project I went to the junkyard to pick up some parts when a 2001 Lexus iS300 caught my attention. Taking a look at the interior revealed a beautiful gauge cluster that I knew I had to take home and reverse engineer. I've always wanted to add a gauge cluster to my sim rig, anyway. After some search it became obvious that no one has reverse engineered the iS300 gauge cluster online which led me down a rather fascinating rabbit hole of service manuals and GitHub repositories to see what my options were. Ultimately, I opted to reverse engineer the iS300 gauge cluster with the service manual, a multi meter, and a power supply. I successfully figured out what every pin does on the cluster and documented the whole process for future reference. Afterwards, I created a custom ESP32-bassed PCB to cleanly control the cluster and got it manufactured with JLC's PCB services. I also sourced all the parts I would need as well as solder paste and a hot plate. After everything arrived, I got to re flowing the PCB which was new territory for me as I have only purchased pre-assembled PCBs with AER (what a luxury it is!). It took a few attempts but ultimately I was able to solder everything on except the USB-C connector which kept cutting out. As a workaround, I soldered a female plug directly to the pins on the board which simplified the soldering and strengthened the connection. This wasn't a huge problem for me since I would only use the port to reprogram the board. After a few short hours I got the gauge cluster lights to flash on command using the Arduino IDE and after a few more I was able to also control the tachometer and speedometer by applying a frequency to those pins corresponding to the speed. A few days later, I got wifi working on the board as well as BeamNG integration. For now, the cluster is very playable but I would love to add a web interface for configuring everything, Forza integration, as well as a smoothing algorithm for the gauges. The one feature I did not implement yet is Toyota MPX, a proprietary interface used to control the built in screen as well as the fuel, coolant, and MPG gauges. For now, I've documented everything on my YouTube channel and GitHub repository.
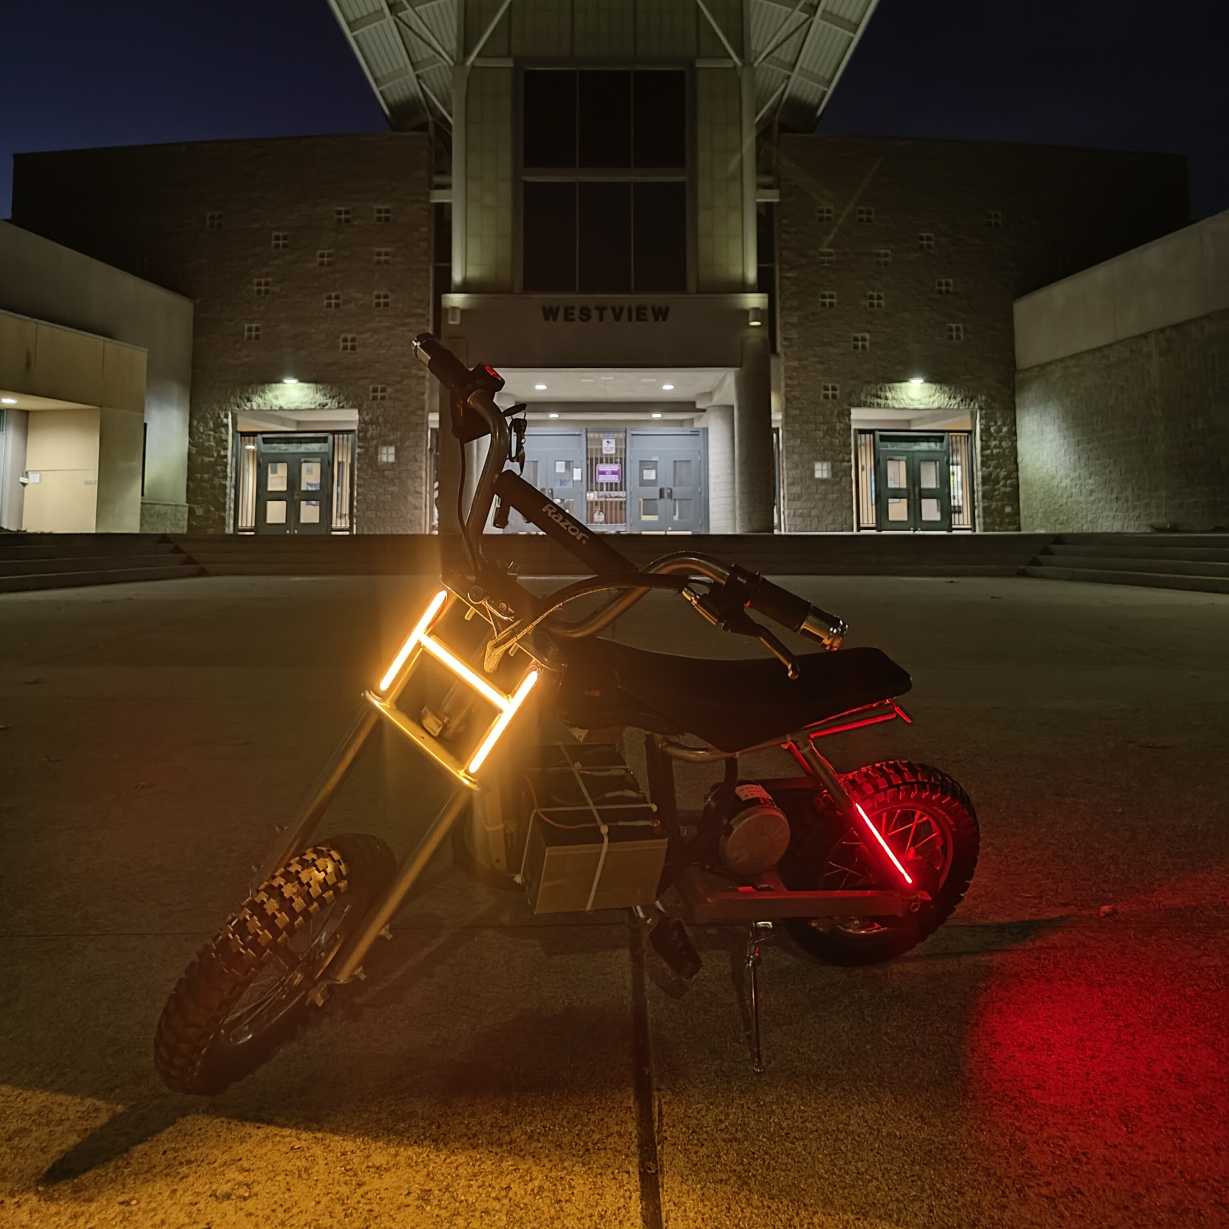
The Cyberbike MX350
One of my first major hardware projects was modifying my Razor MX350. It began with a few cosmetic upgrades, as shown in the YouTube video. Afterwards, I revived the build and completely rehauled it with a new motor controller, upgraded battery system, and a redesigned Cyberpunk-inspired aesthetic. Recently, I reimagined my childhood bike with a 1800 watt motor, 48 volt battery, and a fresh look. it has a lot more torque than stock, pops wheelies with ease, and is a blast to ride. However, the top speed is still only 15MPH due to me using the stock gearing. In the future, I might put a larger sprocket on the rear wheel to increase the top speed.
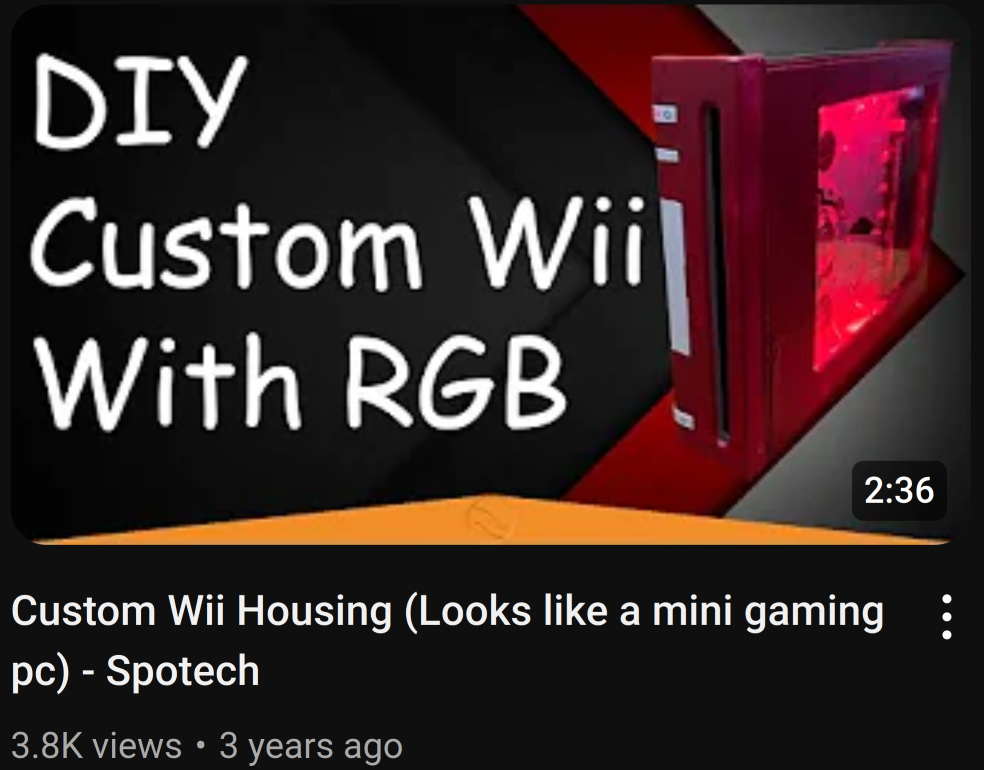
Custom Nintendo Wii
I rescued a Nintendo Wii from a garage sale and gave it a second life. The project includes a painted case, acrylic window to showcase the spinning disc with accent lighting, and custom firmware featuring a red launcher theme to match the design. I also adapted the internals so the Wii can function as a compact gaming PC—combining nostalgia with modern upgrades.
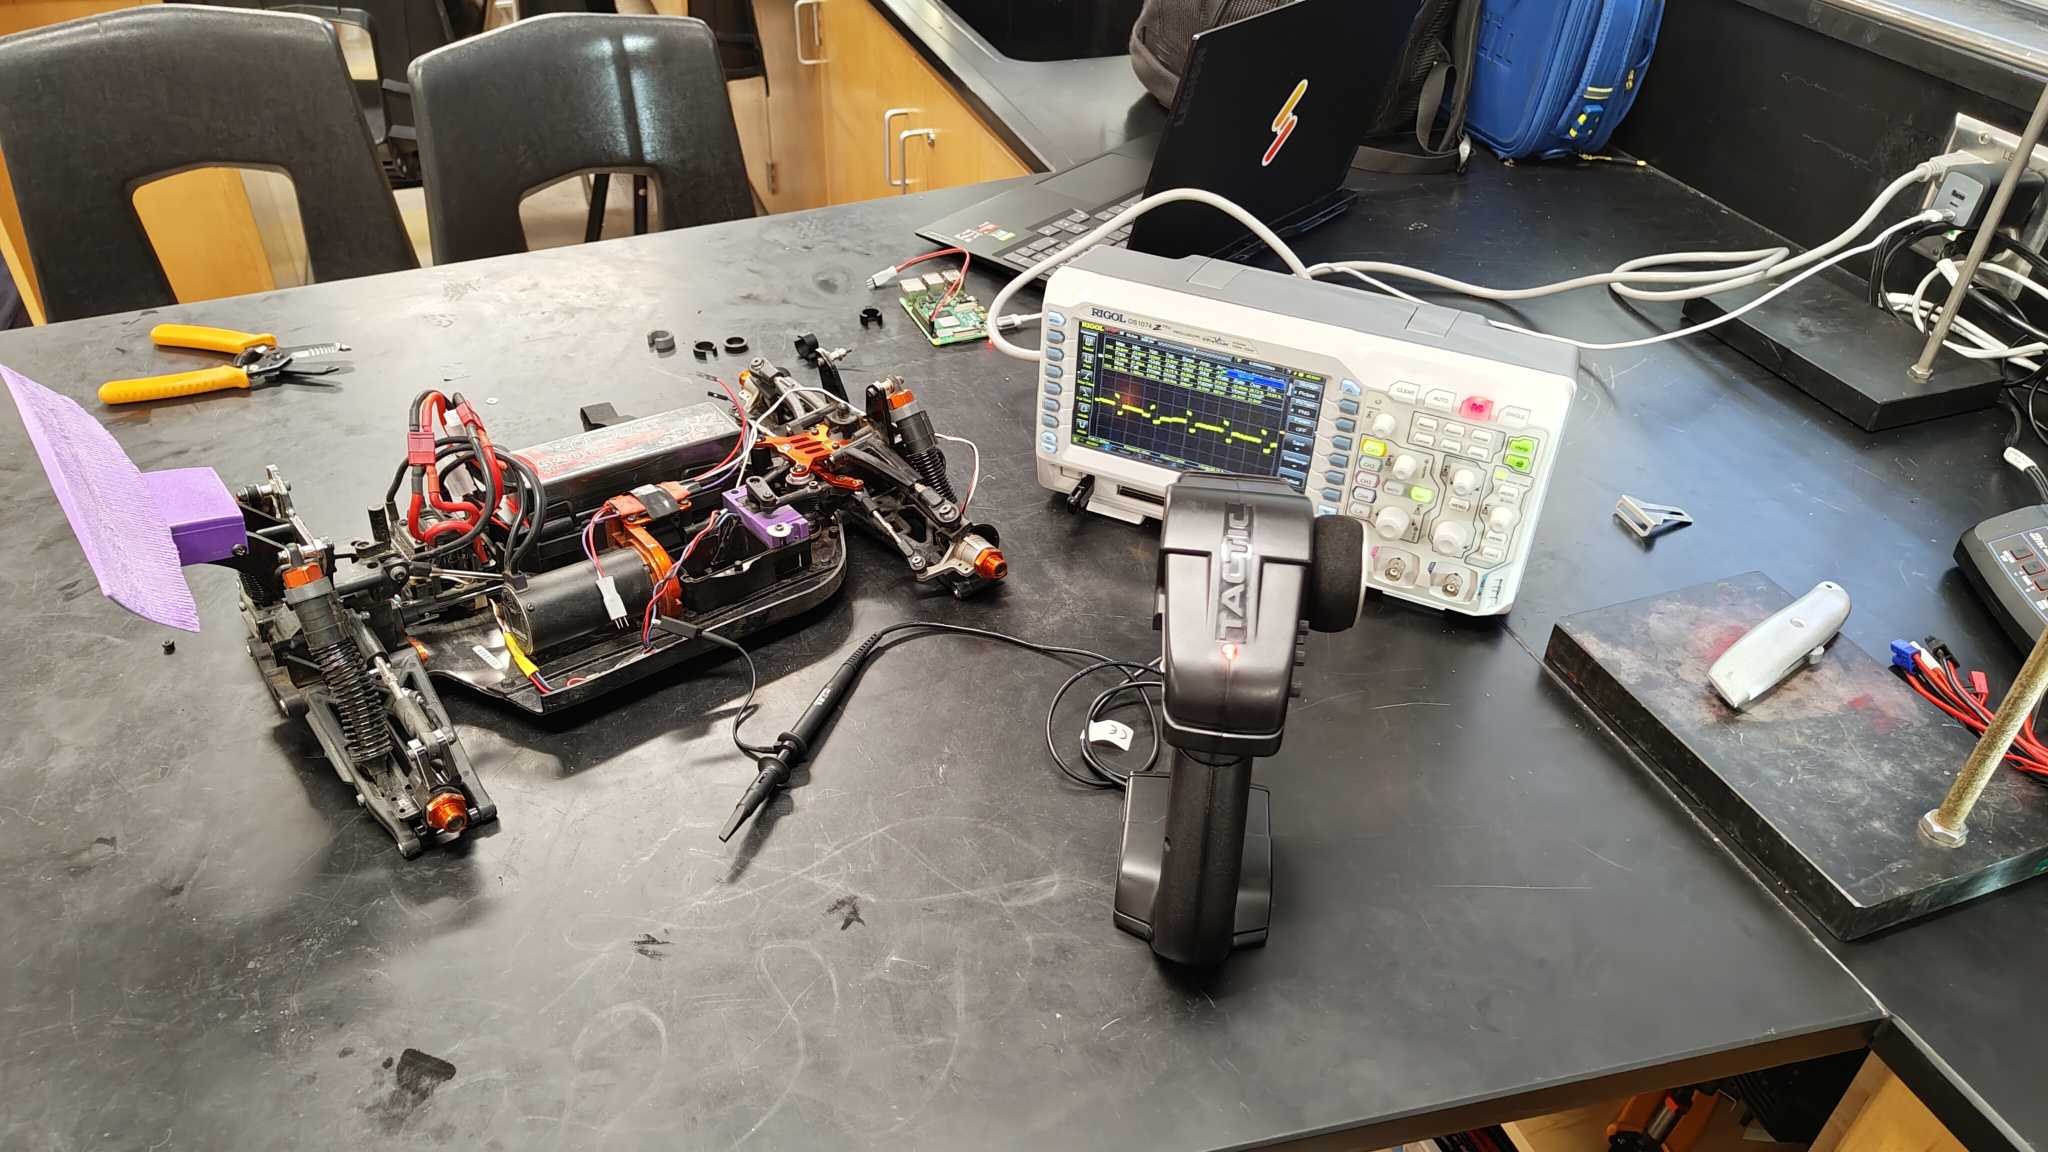
Purple F1
For my final project in Circuit Design, my team went above and beyond, fixing and upgrading an old RC our teacher had lying around. We first got it running using the original parts, reparing many broken pices with 3D printed replacements, then upgraded it using a Raspberry Pi to control it using my laptop. After restoring the car, we were able to hit speeds upwards of 40 MPH!

Custom Amiibos | Saving Money in Style
While playing The Legend of Zelda: Breath of the Wild, I wanted access to the advantages Amiibos provide without paying the premium price. I purchased inexpensive NFC stickers and programmed them using a mobile app to function as Amiibos. To elevate the project, I 3D printed custom cases to resemble official figures, along with compact “chip-style” Amiibos designed to fit neatly inside my Switch carrying case.
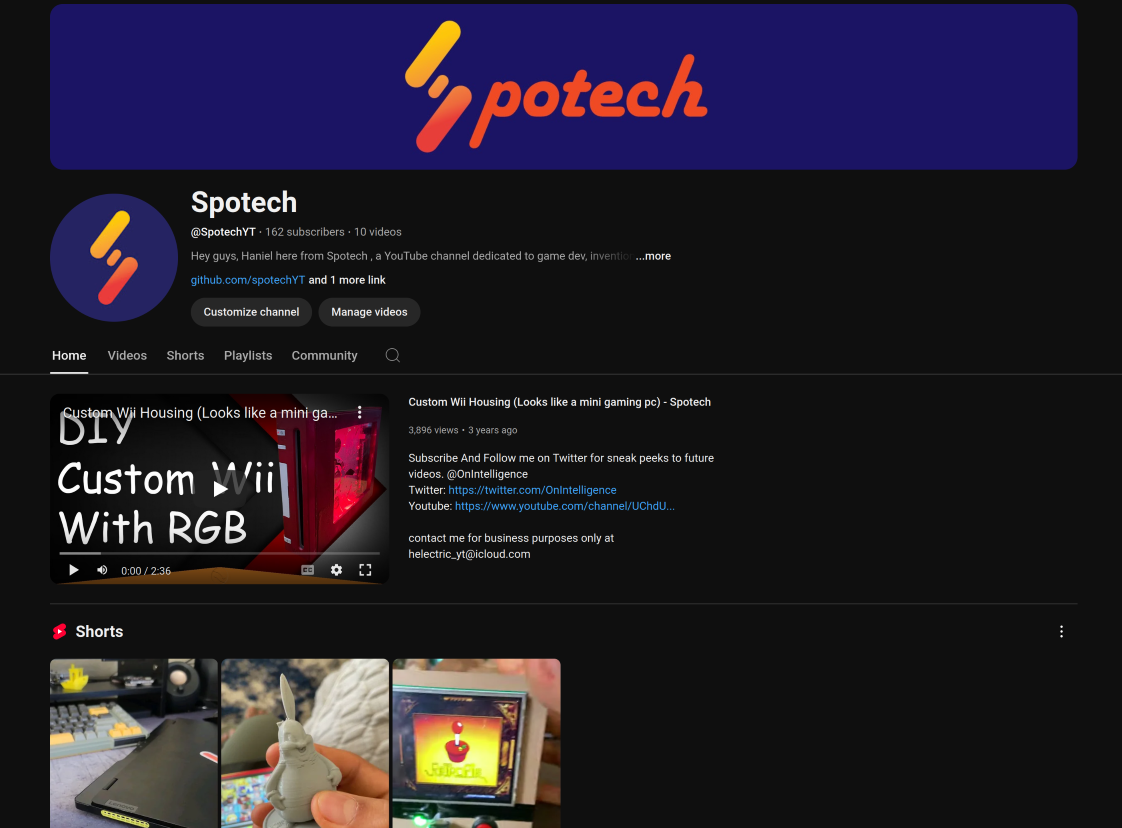
More Projects on my Channel!
I've worked on many additional hardware projects that aren't fully documented here. On my YouTube channel, I share time-lapse builds, behind-the-scenes progress, and tutorials covering my projects and development process.